Most first-time founders treat MVP development as a mini version of full product development. That is exactly why so many MVPs fail. The MVP development process is not about building less. It is about building the right thing in the right order.
The real MVP development process follows a sequence that works. This article walks through each step in that sequence. You will learn how to validate your problem, test your assumptions, build only what matters, and get real feedback from real users.
Let’s get into it.
Step 1: Define the Problem You’re Solving
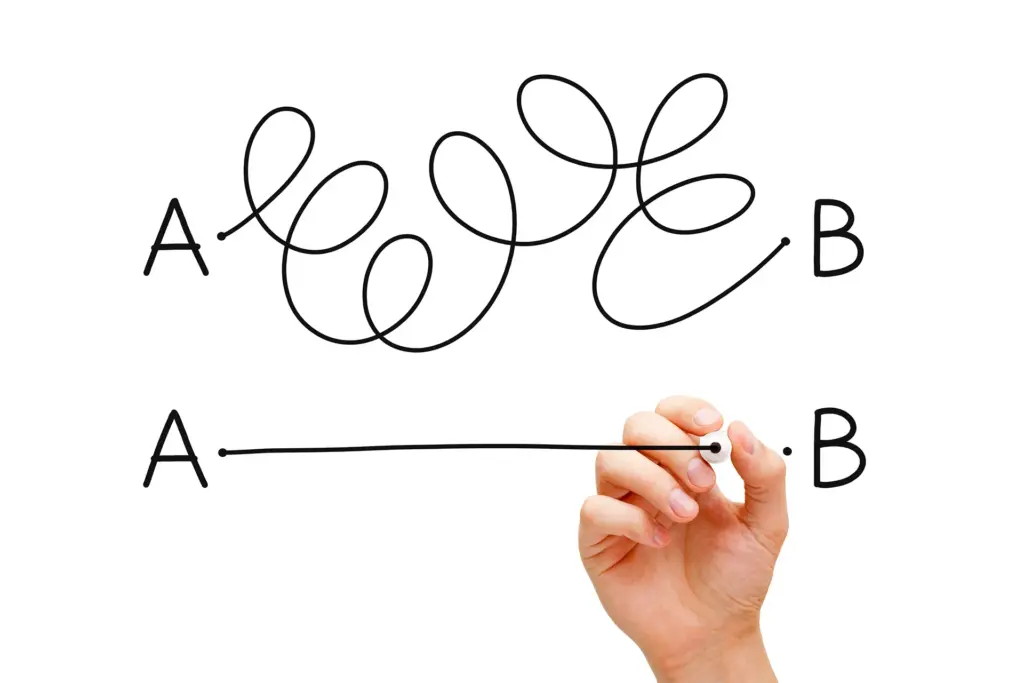
Start With the Problem, Not the Solution.
Most founders come in with a solution already decided. That is the wrong place to start. The first step in a real MVP process is to go back to the problem. You need to confirm it is real, painful, and happening often enough to build a business around.
Skip this step, and you risk building something nobody needs. Take the time to understand the problem first.
How to Write a Problem Statement That Actually Works?
A good problem statement answers four questions:
- Who has the problem?
- What exactly is the problem?
- What are they currently doing about it?
- Why is that not good enough?
Here is an example of a weak problem statement: “Small businesses need better accounting software.“
Here is a strong one: “Freelance designers spend four hours every week manually tracking project hours and sending invoices. They currently use spreadsheets, which leads to billing errors and late payments. This causes cash flow problems and client disputes.“
See the difference?
The strong statement names the user, the specific problem, the current workaround, and the pain point.
Competitor and Market Research at the Problem Stage
This is not about building a competitive analysis deck. It is about confirming the market exists. You need to understand what solutions already exist. You also need to identify the gap your product fills.
Look at existing products. Read their reviews. See what users complain about. Those complaints are opportunities.
Step 2: Identify and Prioritize Your Riskiest Assumptions
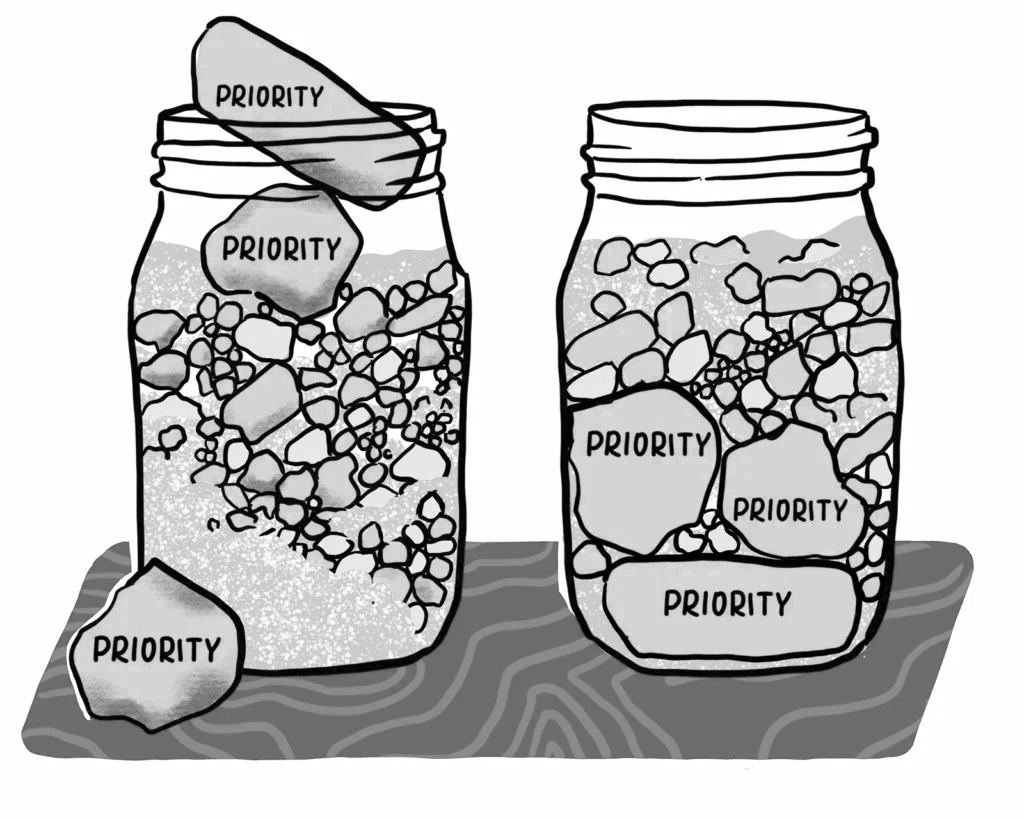
What Is a Product Assumption? Every product idea is built on a set of beliefs:
- Users have this problem.
- They will pay to solve it.
- They will prefer your approach over alternatives.
These are assumptions, not facts. They remain assumptions until real users confirm them.
How to List and Rank Your Assumptions?
Write down every assumption your idea relies on. Be honest. Nothing is too small to include.
Then rank them by risk level.
Ask yourself: “If this assumption is wrong, does the whole product fail?”
The highest-risk assumption becomes the focus of your MVP.
The Assumption That Sinks Most MVPs
The most common assumption founders get wrong is this: users will pay for something just because they say it is a good idea in an interview.
People say nice things to avoid conflict. They mean well. But their words do not equal their wallet. You need to test willingness to pay with real actions, not polite conversation.
Step 3: Define Your Target User
Pick One User Type for the MVP
The MVP process breaks down fast when founders try to serve two or three user types at once. Pick one specific user and build only for them. This produces cleaner test results and faster learning.
How to Build a Simple User Persona?
Forget the lengthy marketing persona with fictional names and stock photos. Build a practical one-page profile instead:
- The user’s job or situation
- Their specific problem
- Their current workaround
- What success looks like for them
That is enough to guide your decisions.
How to Find and Talk to That User Before You Build?
Getting in front of real potential users early is critical. Try these tactics:
- Direct outreach to people who fit your profile
- Reddit communities related to your topic
- LinkedIn searches for job titles
- Industry forums and discussion boards
- Warm introductions through your network
Talk to at least ten people who fit your target user profile before you write any code.
Step 4: Map the Core User Journey
The User Journey vs the Feature List.
Founders think in features. Users think in journeys. Mapping the journey from the user’s first action to their desired outcome produces a better MVP scope than starting with a feature list.
How to Build a Minimal User Flow?
Map the smallest possible path through the product:
- Entry point – How does the user start?
- Core action – What is the one thing they need to do?
- Feedback – What does the system show them?
- Outcome – What do they get at the end?
Keep it to a single flow before adding complexity.
Cutting Everything Outside the Core Flow
Any feature, screen, or interaction that does not directly support the core user flow is a candidate for removal. Ask yourself: “If we remove this, can the user still complete the core action?” If yes, cut it.
Step 5: Decide What to Build (MVP Scoping)
The MoSCoW Method for MVP Scope. The MoSCoW framework helps you make tough decisions:
- Must Have – Required for the product to work
- Should Have – Important but not critical
- Could Have – Nice to include if time allows
- Won’t Have – Not included in this version
For an MVP, Must Haves are the only things that go into version one.
Differentiating “Core” From “Nice to Have”
A feature is core if removing it makes the product unable to test the main hypothesis. Everything else is nice to have.
Try this exercise: Go through your feature list one by one.
For each feature, ask: “Can we test our main assumption without this?” If yes, it is not core.
Non-Obvious Things You Can Leave Out of an MVP
These often get included but do not belong in version one:
- Admin panels
- Notification systems
- Multiple payment options
- Social sharing buttons
- Dark mode
- Multi-language support
All of these can wait.
Non-Obvious Things You Should Never Leave Out
These often get skipped but cause problems:
- Analytics and event tracking
- Basic error handling
- A way for users to contact the team
- Clear onboarding for the core action
Include these from day one.
Step 6: Choose Your Tech Stack
How Tech Stack Affects MVP Speed and Cost
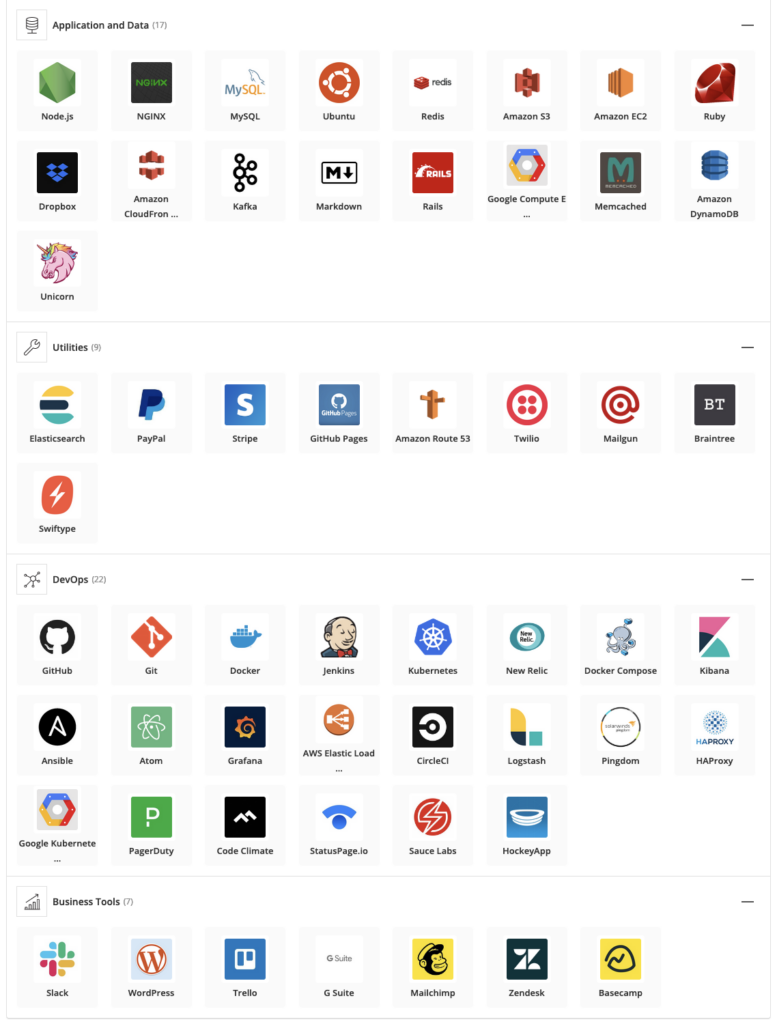
Stack decisions made at the MVP stage have long-term consequences. Pick a stack that ships fast now and doesn’t require a full rewrite as the product scales.
Common MVP Tech Stacks by Product Type
Web apps
- Frontend: React or Next.js
- Backend: Node.js or Django
Mobile apps
- React Native or Flutter for cross-platform.
SaaS products
- Next.js
- Supabase or Firebase
- Stripe for payments
Marketplace products
- Custom backend with PostgreSQL
No-Code and Low-Code MVPs: When They Work and When They Don’t
Tools like Bubble, Webflow, and Glide can significantly reduce build time. They work well for:
- Simple web applications
- Landing pages with functionality
- Internal tools
- Proof-of-concept testing
They hit hard limits on complex logic, data relationships, and custom integrations. If you need those, build with code from the start to avoid a full rebuild later.
Step 7: Design the MVP
MVP Design Is Not About Looking Pretty
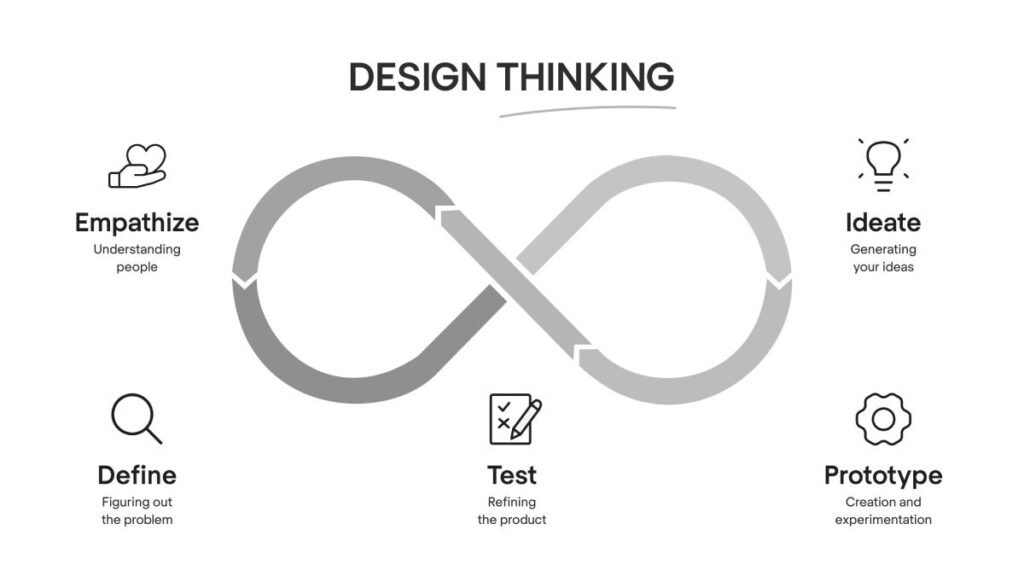
MVP design has one job: make it easy enough for a test user to complete the core action without help. Production design standards come later. MVP design is about clarity and function.
Wireframes First, Visual Design Second
Wireframing maps out how screens connect and how users move through the product. Do this before any visual design decisions. It saves time and reduces rework.
The Design Elements You Actually Need in an MVP
You need:
- Clear navigation
- A working core flow
- Error states that do not confuse users.
- A consistent enough visual style that the product does not feel broken
Everything else is optional.
Getting User Feedback on Design Before Development Starts
Clickable prototypes can be tested with five to ten real users before a single line of code is written. This catches major usability problems at the cheapest possible moment. Do not skip this step.
Step 8: Build the MVP
Setting Up for a Fast Development Cycle
Set yourself up for success with:
- A shared project management tool
- A clear definition of done for each feature
- Short sprint cycles of one to two weeks
- Daily communication between designer and developer
How to Prioritize During Development When Everything Feels Urgent?
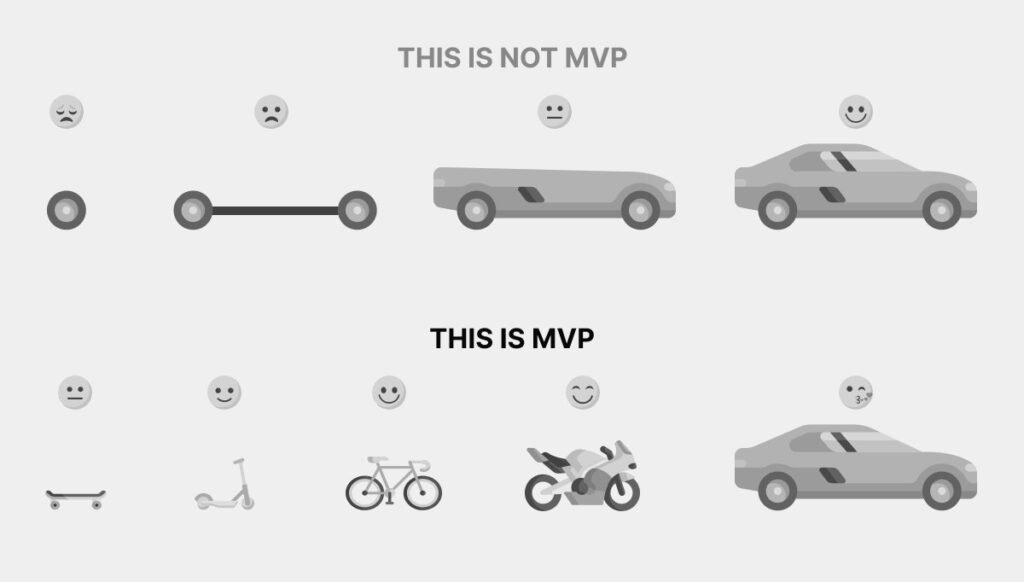
Founders and developers constantly face pressure to add just one more thing during a build. You need discipline. Hold scope during development.
When a new idea comes up mid-build, write it down. Put it in the backlog. Do not add it to the current sprint.
Backend vs Frontend: What to Build First
Build the core backend logic before polishing the frontend. The logic is what matters. An exception: a frontend-first approach makes sense for user testing purposes when you need to show something quickly.
Manual Processes That Can Replace Code in an MVP
Two approaches save significant build time:
Wizard of Oz MVP
Users interact with a seemingly automated system. Behind the scenes, a human does the work manually. This tests the concept without building complex automation.
Concierge MVP
You personally deliver the service to early users. This teaches you what users actually need before you build the full product.
Real example: A food delivery startup started with the founder taking orders by phone and delivering food himself. Only after validating demand did he build the app.
Step 9: Test Before You Launch
Functional Testing: Does the Core Loop Work?
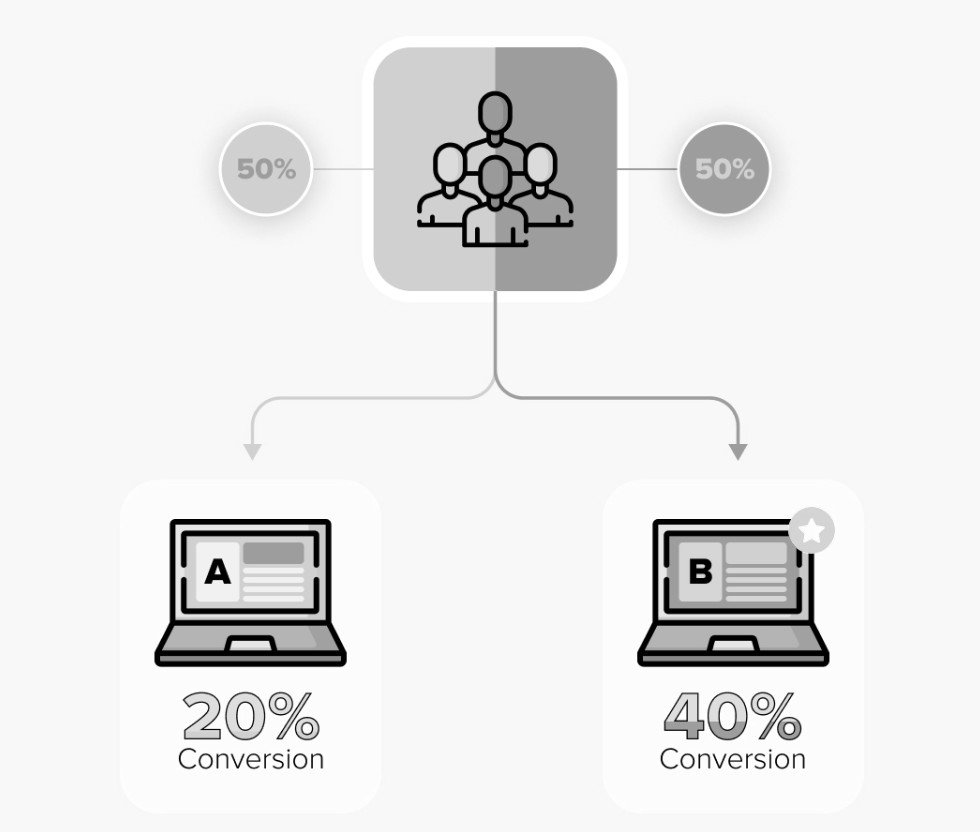
Before showing the MVP to real users, confirm every step of the core user flow works without breaking. Go through the entire flow yourself. Fix anything that breaks.
User Testing With Real People
Recruit five to ten users from your target audience. Watch them use the product without giving guidance. Do not explain how things work. Let them figure it out.
This is one of the highest-value activities in the MVP process. You will see exactly where users get confused.
What to Do With Testing Feedback
Not all feedback is equal. Triage it this way:
- Fix before launch – Issues that block the core action
- Add to the post-launch backlog: improvements that matter but are not blocking.
- Ignore – Feedback from users outside your target profile.
Step 10: Launch the MVP to Your Test Audience
MVP Launch Is Not a Product Launch
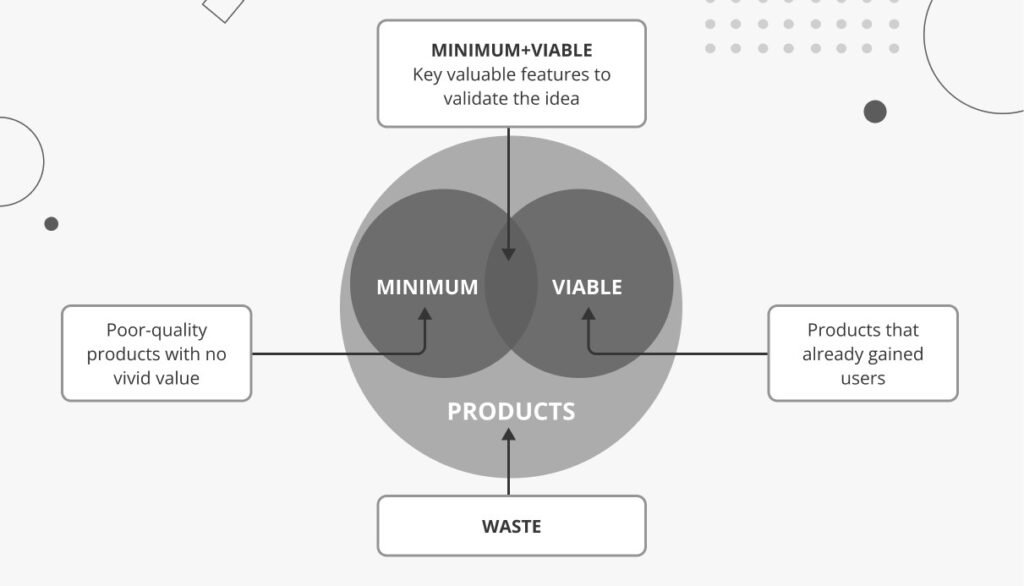
An MVP release goes to a small, controlled group of early testers. Not the general public. This distinction matters for your brand reputation. A beta launch lets you work out problems without public embarrassment.
How to Find and Recruit Your First 50 Users
Practical tactics that work:
- Your personal network
- Beta waiting lists
- Community posts in relevant forums
- Direct outreach to people who fit your target user profile
- Founder-led sales for B2B products
Setting Up Feedback Collection From Day One
Set up these tools and methods:
- In-app feedback widgets
- Short weekly check-in emails to beta users
- Session recording tools
- Scheduled user interviews every two weeks during the beta period
Step 11: Measure and Learn
The Metrics That Matter at the MVP Stage
Track these specific numbers:
- Activation rate: Do users complete the core action on their first visit?
- Retention at day 7 and day 30: Do they come back?
- Core action completion rate: Do they finish what they started?
- Qualitative feedback themes: What patterns emerge in user comments?
Vanity metrics like total signups mislead more than they reveal. Ignore them.
How to Run a Proper Feedback Loop?
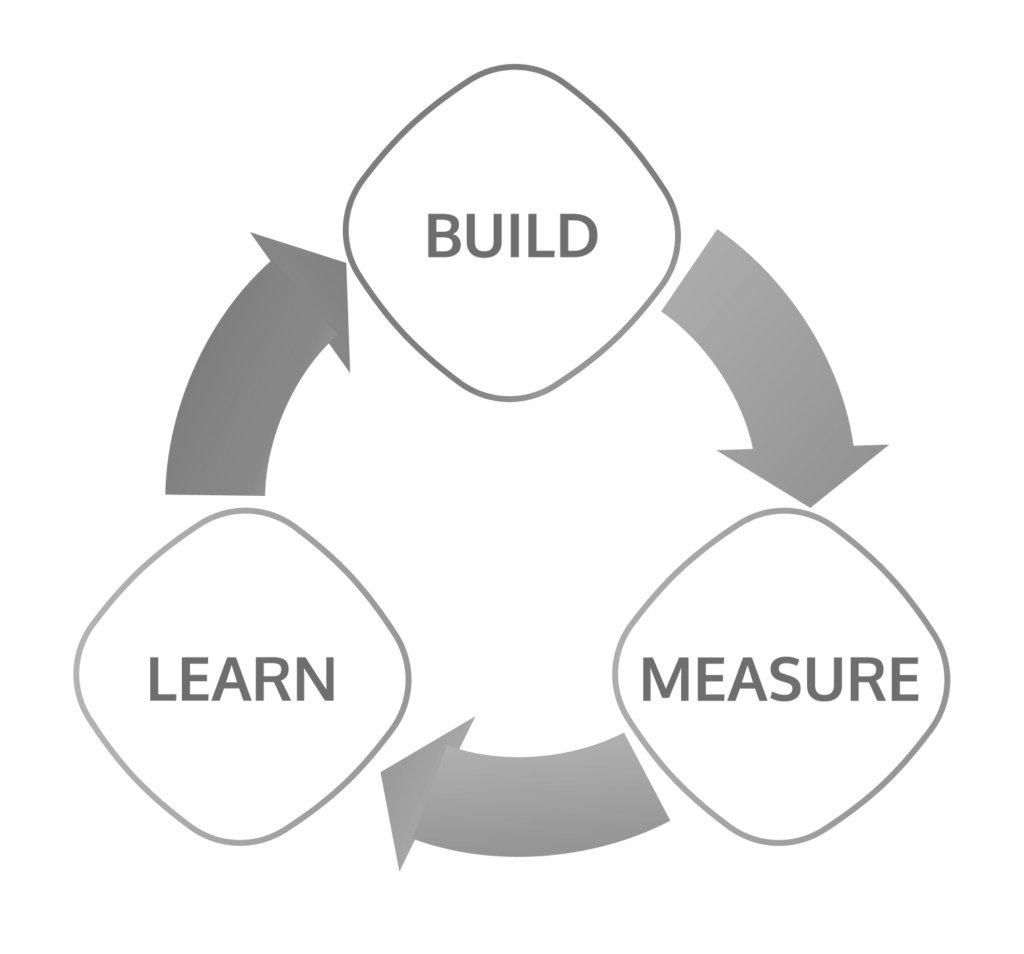
A structured cycle works best:
- Collect data from analytics and user feedback.
- Review data weekly with the team.
- Identify patterns and problems.
- Decide what to act on
- Make changes
- Start again
Recognizing Validated Learning vs Noise
The hardest skill in the MVP process is separating real signals from outlier opinions.
Look for patterns. One user complaining about something is noise. Five users complaining about the same thing is a signal. Wait until you hear the same feedback from multiple users before you act.
Step 12: Decide to Iterate, Pivot, or Scale
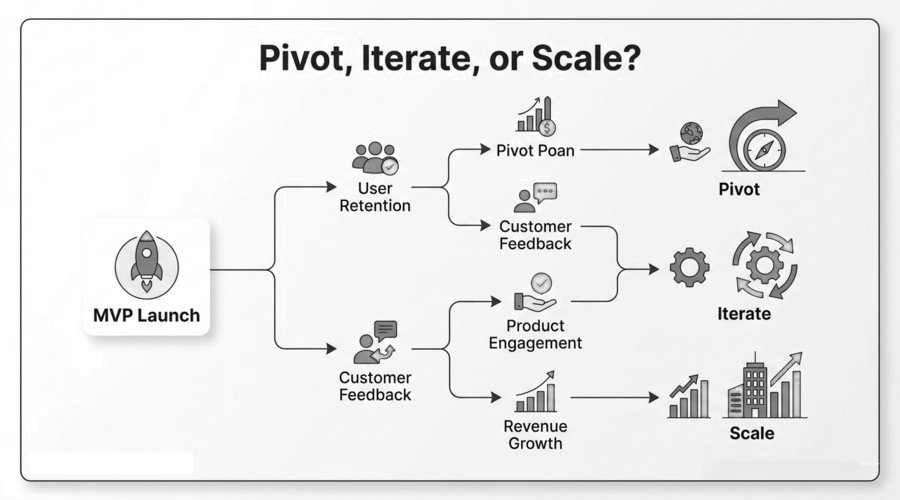
Iterate
The data shows the direction is right but specific parts of the product need adjustment. This is the most common outcome. Most products go through several iteration cycles before they are ready to move toward the MMP (Minimum Marketable Product).
Pivot
The data shows the core assumption was wrong, but user feedback points to a different problem worth solving.
Run a structured pivot:
- Identify what you learned.
- Find the new opportunity in the feedback.
- Reset your assumptions
- Start the MVP process again with the new direction.
Do not abandon all the learning from your MVP. The data is valuable even when it shows you were wrong.
Scale
The core assumption is validated. Users are returning. Early willingness-to-pay signals are strong.
Now you move from MVP to MMP. This build phase focuses on polish, scale, and marketing readiness.
How Long Does the MVP Development Process Take?
Here is a realistic MVP development timeline breakdown by stage:
| Problem definition and research | 1-2 weeks |
| User definition and interviews | 1-2 weeks |
| Scoping and user journey mapping | 1 week |
| Design and prototype | 2-4 weeks |
| Development | 6-10 weeks |
| Testing | 1-2 weeks |
| Beta launch and feedback | 4-8 weeks |
| Total | 16-29 weeks |
This timeline varies based on product complexity, team size, and the amount of research you have already done. For a deeper look at timelines, check out our article on [MVP development timelines].
Common Mistakes That Break the MVP Process
- Skipping user research and building from assumptions: This is the number one cause of MVP failure. Talk to users before you build.
- Scoping too wide because cutting features feels like giving up: Cutting features is not failure. It is focus. The MVP is about testing one thing well.
- Treating beta user compliments as validation: Positive feedback is nice. But watch what users do, not what they say. Actions reveal truth.
- Not tracking any metrics during the MVP phase: Without metrics, you are guessing. Set up analytics from day one.
- Treating the MVP launch as a public product debut: An MVP is a test. A public launch is a commitment. Keep them separate.
- Rebuilding everything after the MVP instead of iterating on what already exists: Your MVP code is not garbage. Iterate on it. Only rebuild when the existing code is truly blocking progress.
Working With an MVP Development Team
If you decide to bring in outside help, look for these qualities of n MVP development team:
- A discovery process built in from day one
- Willingness to challenge your scope
- Post-launch support and handover planning
- Clear code ownership at the end of the project
The right partner helps you make smart decisions at every stage. They do not just take orders and write code.
FAQ
How many steps are in the MVP development process?
The full process has 12 distinct steps, from problem definition through to the decision to iterate, pivot, or scale. Each step builds on the previous one.
How much does it cost to go through the full MVP development process?
MVP development costs vary widely based on product complexity, team location, and build approach. Simple MVPs might cost $15,000 to $30,000. More complex products with custom development can run $50,000 to $150,000 or more.
Can a non-technical founder run the MVP development process?
Yes. Non-technical founders can run every step up to the build phase. For development, they either learn to code, use no-code tools, or partner with a development team.
How is the MVP development process different for SaaS vs mobile apps?
The core process is the same. The differences appear in the tech stack and design approach. SaaS products use web technologies. Mobile apps require platform-specific considerations for app stores and device compatibility.
Does MVPfy.co follow this process with clients?
Yes. We follow this exact process with every client. Our approach starts with problem validation and ends with a clear plan for what comes after launch. [Contact us] to discuss your project.